Adding FTP Accounts
If you are working on your website together with someone else or host subdomains for other users, you might want to create separate FTP accounts for them.
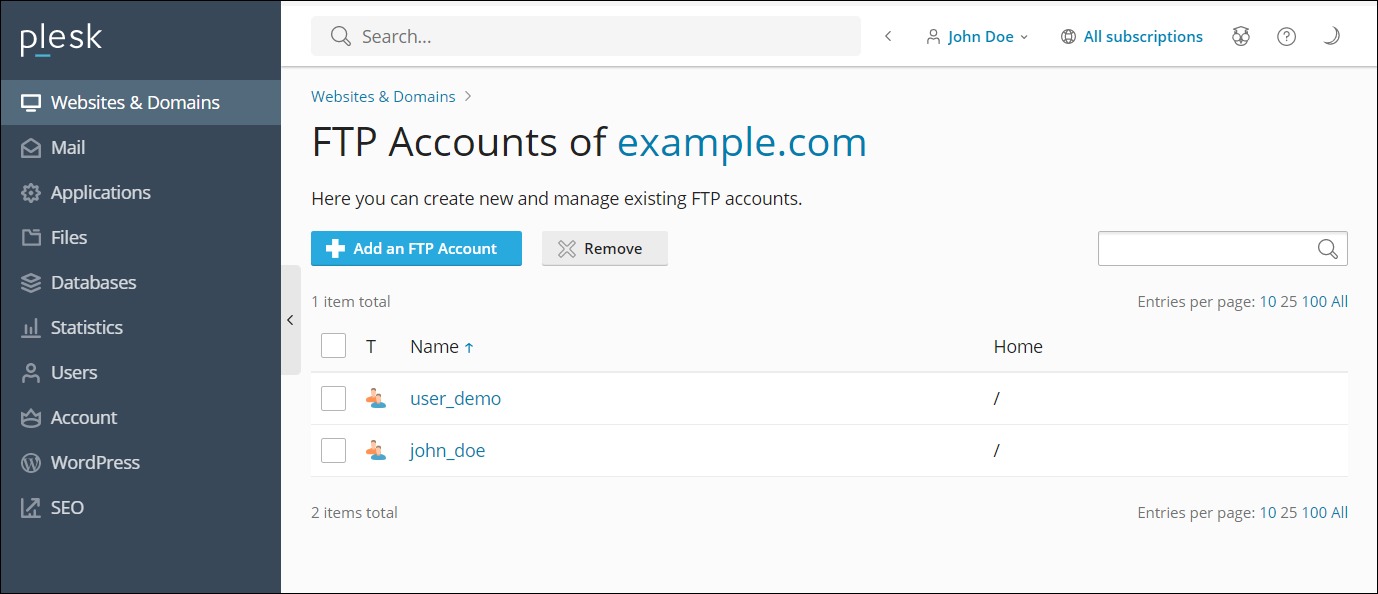
To create an additional FTP account:
Go to Websites & Domains > your domain> FTP.
Click Add an FTP Account.
Specify the following:
FTP account name. Type a desired name.
Home directory. Select the directory to which the user will be taken when he or she connects to the FTP account.
FTP password.
Hard disk quota (on Windows hosting). To limit the amount of disk space on the server that the FTP user can occupy, clear the Unlimited checkbox next to the Hard disk quota box, and type the amount of disk space in megabytes.
Read permission (on Windows hosting). To allow the FTP user to view the contents of the home directory and download files from it, select the Read permission checkbox.
Write permission (on Windows hosting). To allow the FTP user to create, view, rename and delete directories in the home directory, select the Write permission checkbox.
On Window hosting, if you do not grant any permissions, a connection to the FTP account will be made, but the contents of the home directory will not be shown to the user.
Click OK.
To change the properties of an additional FTP account:
- Go to Websites & Domains > your domain > FTP.
- Click the required FTP account name in the list.
- Make the required changes and click OK.
To remove an additional FTP account:
- Go to Websites & Domains > your domain > FTP Access.
- Select the checkbox corresponding to the FTP account you want to remove and click Remove. Note that the main FTP account of a subscription cannot be removed.
- Confirm removal and click Yes, remove.